Rubber Flooring Installation Guide
Installing rubber flooring can be done by novice DIYers and installation experts alike since the ease of installation will depend on the rubber flooring chosen. Generally, lightweight rubber puzzle tiles are easier to install due to their easy-to-follow interlocking design. Rubber mats are just as easy to install but weigh slightly heavier than tiles. Rolled rubber flooring is the heaviest of the three formats and also requires more skill for a professional-looking, seamless finish.
This segment details the installation process for rubber interlock tiles, rubber sheets and mats, and rubber sheets to provide insight into which method will best fit any project’s skill level and budget. Prior to installation, it is important to have the following materials on hand (as needed): straight edge, adhesive (TruGlu), double-sided tape (GatorTAPE), utility knife, subfloor preparation materials, cleaning supplies, and safety gear (gloves, glasses).
How to Install Rubber Tiles
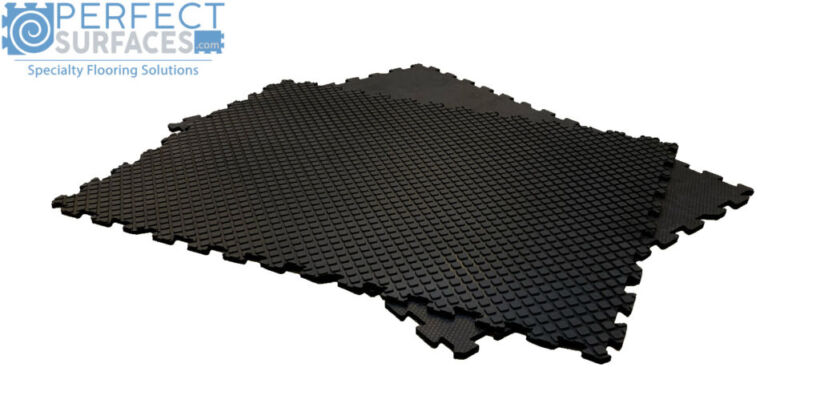
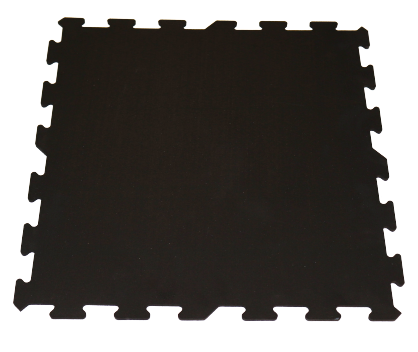
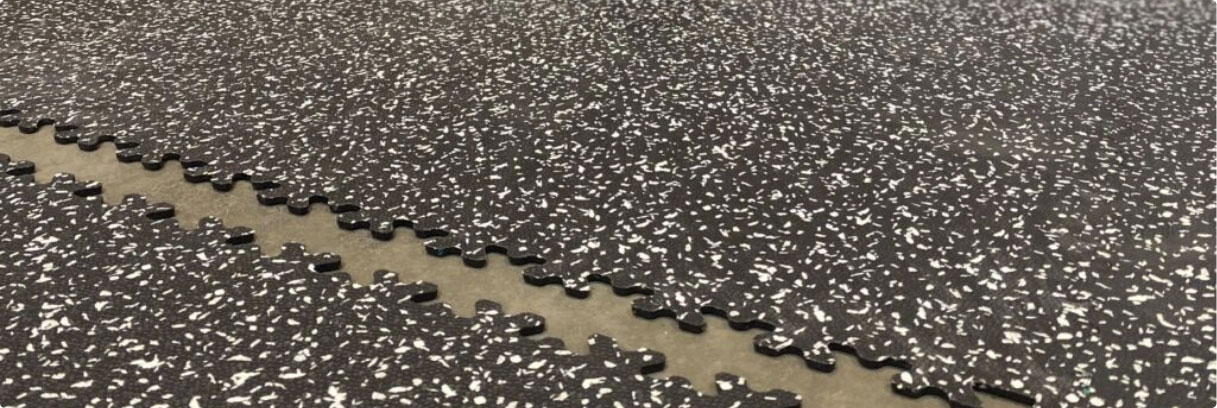
Rubber tiles from Perfect Surfaces are as versatile and DIY-friendly as they get; practically anyone can assemble them! The built-in interlocking system of puzzle tiles helps create a tight, secure fit for a sturdy and reliable rubber surface. Interlocking rubber tiles can be loose-laid on concrete, plywood, or compacted dirt- making them a great temporary or permanent flooring option for a multitude of applications.
Before installation, removing the tiles from their packaging is important to allow them to acclimate to the finished space for at least 24 hours. When installing interlocking tiles, mind the directional arrows on the underside of select tile products, which are intended to assist with properly fitted edges on the finished product.

How to Install Rubber Sheets
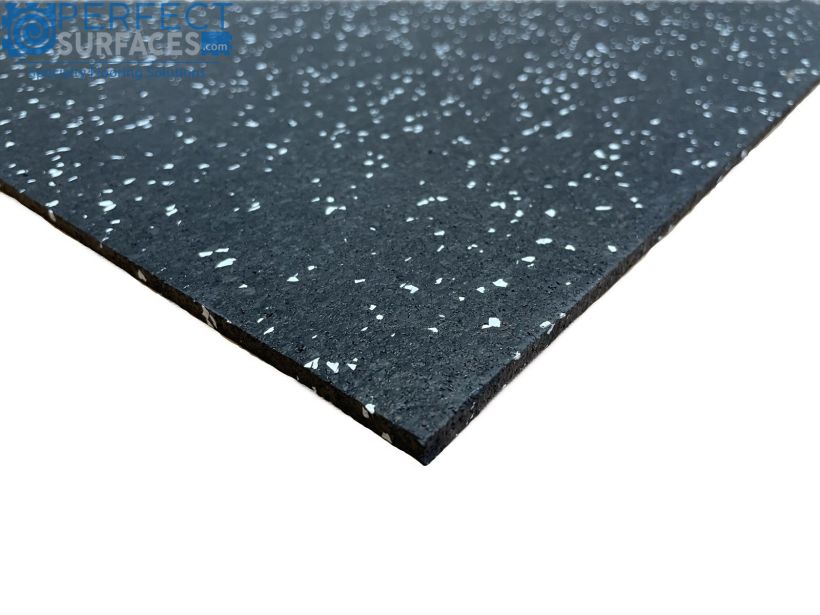
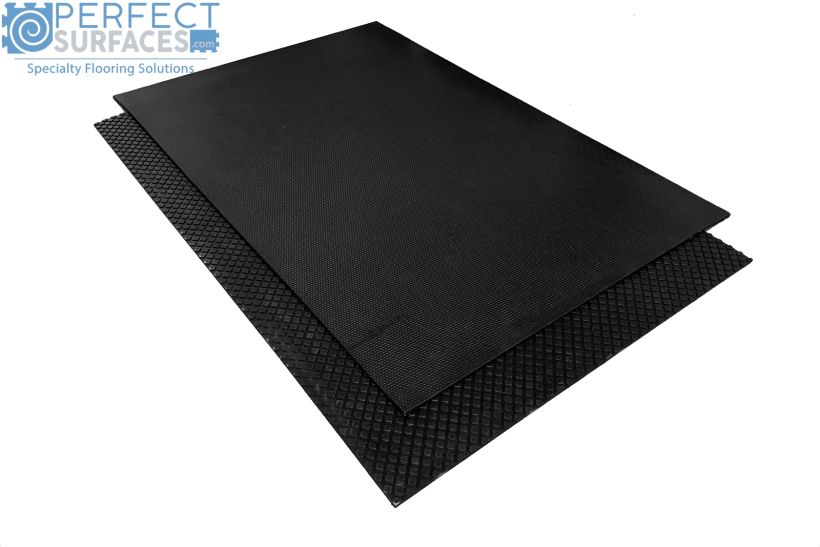
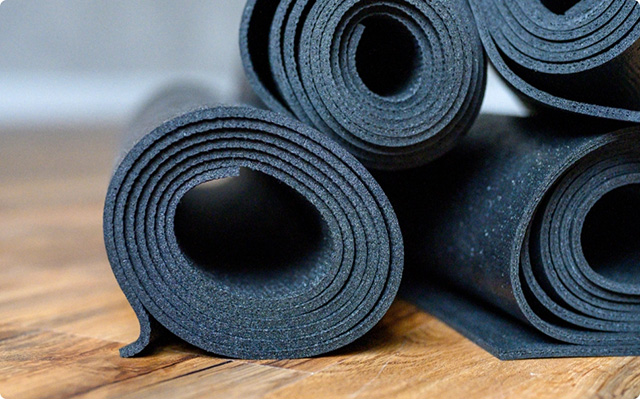
Rubber sheets and mats are very easy to install in smaller areas or when creating designated spaces in larger areas. Sheet rubber is more versatile than rolled rubber and can be easily removed, stored, and transported, making it ideal for temporary flooring projects. The heavy weight of rubber sheets and mats is advantageous for loose-laying since no tape or glue is required to keep them in place.
Rubber mats or sheets can be loose laid on a level surface, such as concrete, plywood, or tile. It is recommended that the floor beneath the rubber mat be cleaned and uniform to avoid bumps and achieve a smooth rubber flooring surface. Rubber mats can be taped or glued down to the substrate for a semi-permanent or permanent installation.
How to Install Rubber Rolls
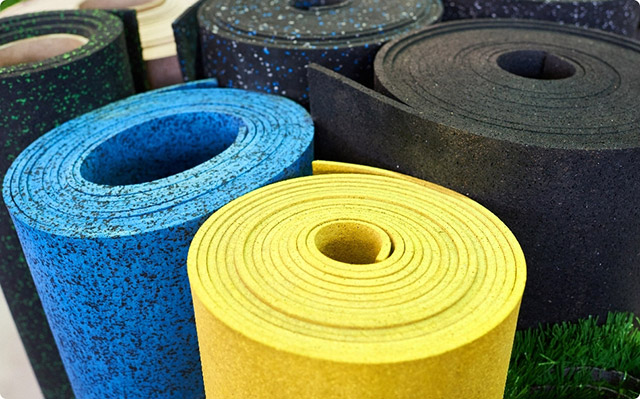
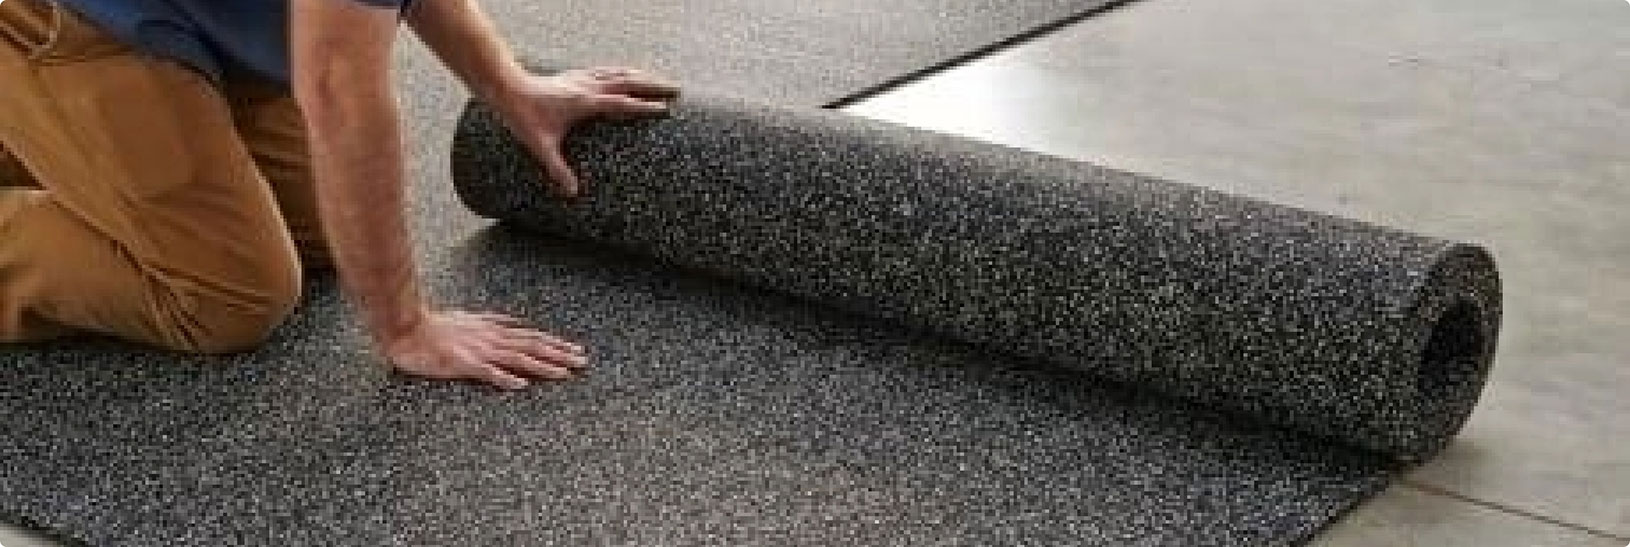
Rubber rolls are the most cost-effective option for large-scale commercial or residential rubber flooring projects. Although they require a bit more labor than rubber mats and tiles, rolled rubber is generally quick to install and provides a professionally finished look throughout any larger space.
For best results, it is recommended that rubber rolls be unrolled and laid flat on a hard and level surface, such as concrete or plywood, prior to installation. Additionally, preparing the subfloor with a sweep or vacuum before installation throughout your space will prevent bumps on the finished floor. While loose-lay isn’t recommended, rubber rolls can be taped down or glued to the floor for a reliable rubber floor that resists shifting. Professional installation of rolled rubber flooring is recommended for best results.


