Athletic Court Flooring Installation Guides
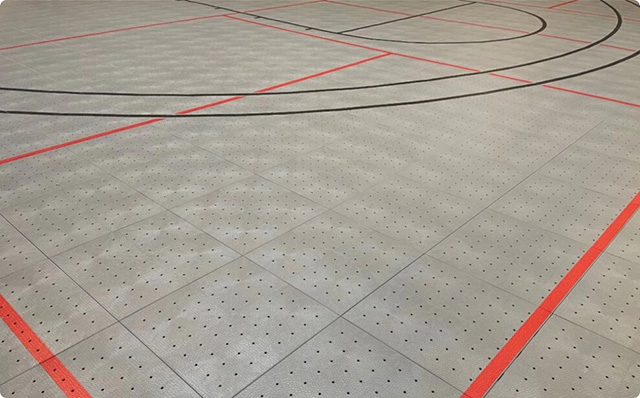
With our DIY-friendly multi-use court planks, panels, and tiles, installing your dream game court is quick and straightforward. We know you’ve dreamed of it, spent hours picking out the best flooring for your space, and now you’re ready to make it happen. Before you enjoy your favorite games on your custom game court, there is one crucial step: installation.
In this section, we will help guide you through the installation process by sharing the installation tools and materials needed, and installation tips. We hope to give you a complete overview of the process.
Athletic Court Installation Tools and Materials
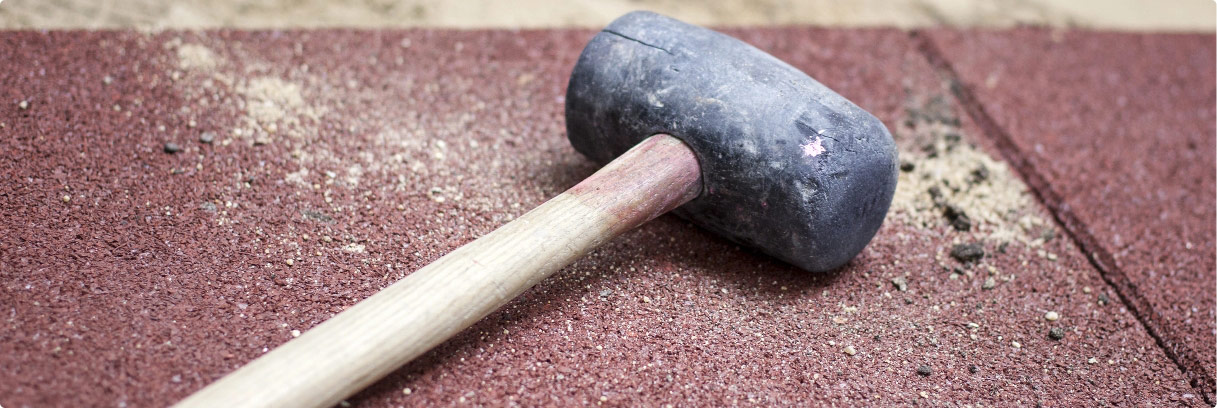
Perfect Surfaces athletic court flooring is easy to install and DIY-friendly. If you choose to install game court panels, planks, or tiles by yourself, you will need the following tools; a utility knife or saw, a measuring tape, a rubber mallet, gloves, safety glasses, and cleaning supplies.
These are the general tools required for any of our products. However, it is important to note that any specialized equipment needed for installation will vary from project to project based on the type of flooring and the subfloor. It is recommended to read the specific product guide and installation manual pertaining to your selected product to fully understand the subfloor and installation process.
Athletic Court Installation Tips
Once your product arrives, please inspect it to ensure it has arrived entirely and correctly, without defects. Report any discrepancies as soon as possible. Store the floors in a clean, dry environment while preparing your subfloor. Always ensure that the sub-floor is clean, dry, level, and free of loose materials before proceeding.
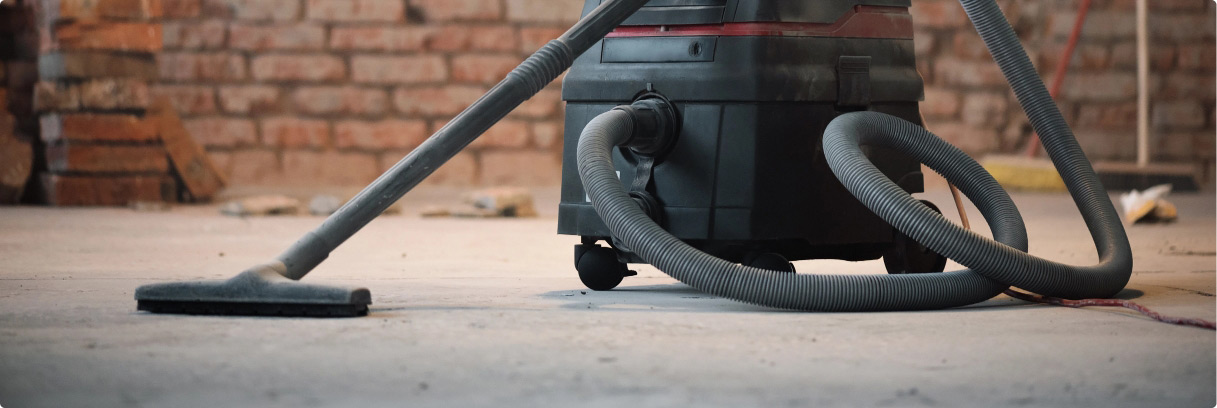
Many game court floors at Perfect Surfaces are DIY-friendly and easy to install with minimal tools required. However, we suggest you read the installation manual for your selected product or products adequately to ensure a professional installation and minimize errors when installing. It is recommended that floors have been cleaned fully by sweeping, vacuuming, mopping, or hosing them off to ensure maximum longevity.
Athletic Court Subfloor Preparation
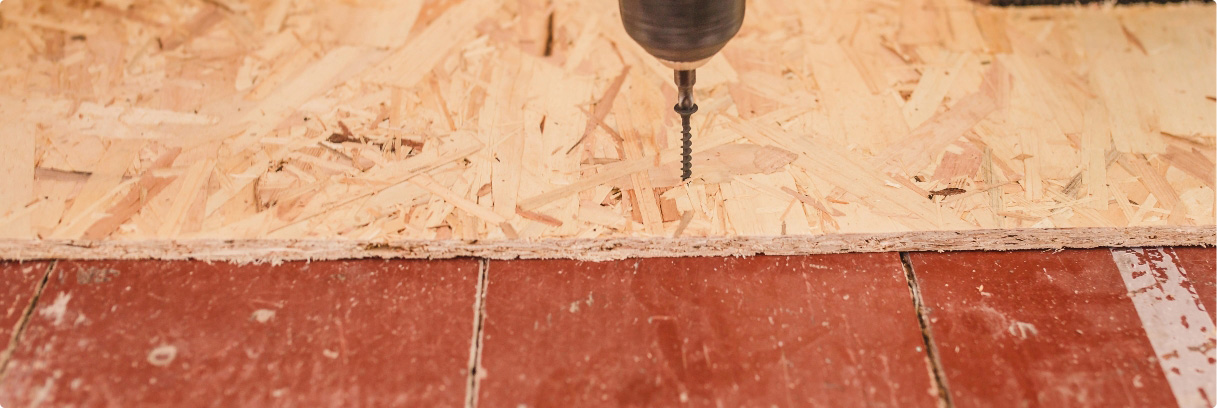
For optimal results, install sports flooring on a hard and level surface that is clean, dry, and free of all loose materials, oils, or previous floor finishes. Removing any lumps, protrusions, cracks, or uneven surfaces will give your floor a level and smooth finish and provide the best performance. If installing your game court over fresh concrete, ensure it is fully cured prior to installation.
It is not recommended to use sand as a subfloor, as sports panels, planks, and tiles can be pushed into the sand, resulting in poor performance and potential injuries. Don’t cut corners when preparing the subfloor—prioritizing a solid, stable, and level subfloor is key to enhancing the performance, safety, and longevity of the finished multi-use court.


