Playground Flooring Installation Guide
Our top recommendations for playground surfacing are PlaySafe SHOCK rubber tiles and artificial turf. Both options boast durability and tolerate the constant abrasion of heavy foot traffic. Both have a level surface to offer accessibility to those with mobility challenges, and both offer the safety of impact-absorbency when PlayPad foam is installed beneath. When it comes to installation, most Perfect Surfaces playground surfacing options are relatively straightforward and DIY-friendly.
Whether you are an avid DIYer or elect to hire an expert for your playground surface installation, this guide will share the tools required and an overview of PlaySafe SHOCK tile. If you require more installation information, feel free to contact our product specialists for expert advice or refer to our comprehensive product installation manuals.
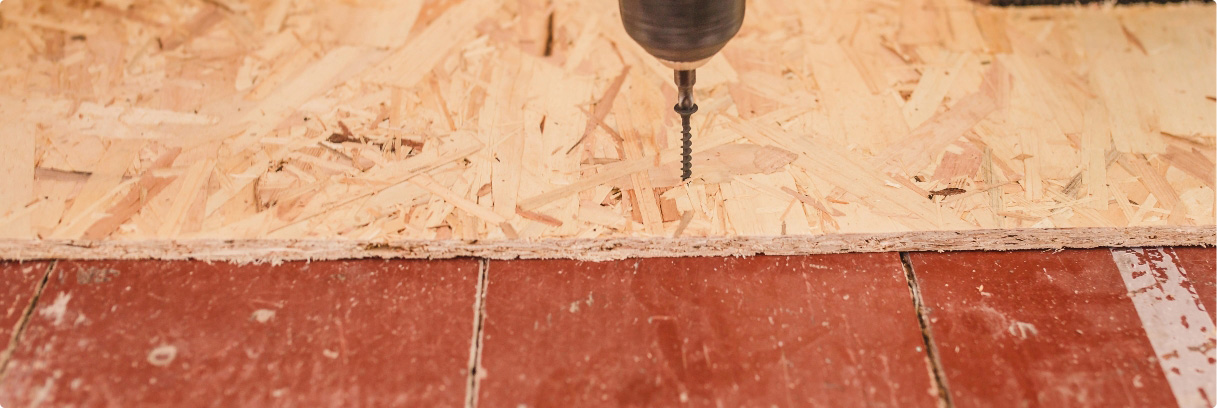
Tools and Materials Required for Playground Floor Installation
Preparing the subfloor is the first step to a professionally finished playground surface. This step is paramount, as it is the backbone of a level finished product and will prevent the finished top layer from shifting or settling into the ground beneath. An underlayment or levelling compound may be needed to level the subfloor for uneven substrates. Regardless of the subfloor type (concrete, wood, compacted gravel, etc.), it is recommended that this layer is smooth and uniform prior to installing the PlayPad and/or rubber playground tiles and/or artificial play turf. The PlayPad layer is installed prior to the finished surface to allow for sufficient fall height protection.
Installation materials required to install our PlaySafe SHOCK tiles and PlayPad foam include a utility knife, seam tape, turf spikes, a straight edge, chalk, cleaning supplies, gloves, and safety glasses. Once your subfloor is ready, you can unpackage your rubber tiles or artificial turf and leave them to acclimate to the area before installing them.
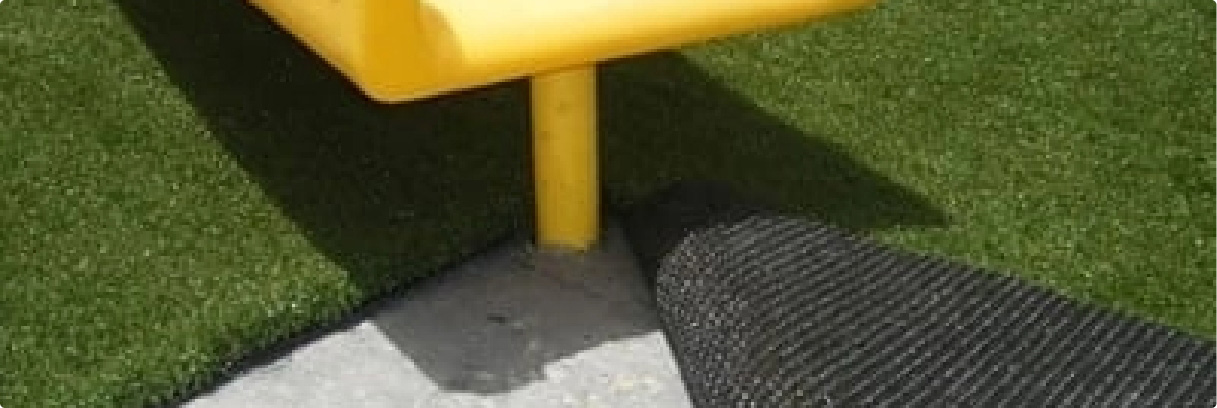
How to Install PlayPad Foam
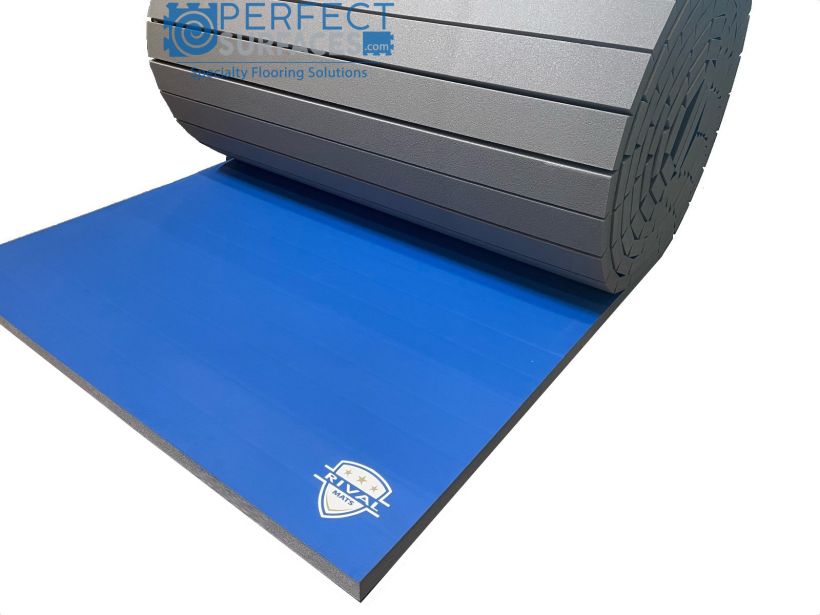
Once your subfloor is levelled and ready for installation, begin to lay out your PlayPad Foam in any area a fall height is required. Once the PlayPad is laid out, loosely lay out your finished flooring in the space.
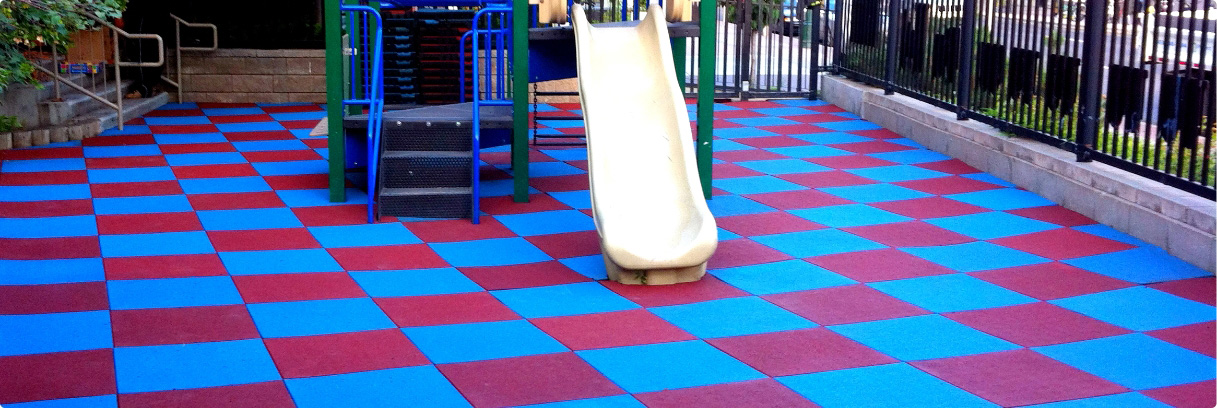
How To Install Playground Rubber Tiles
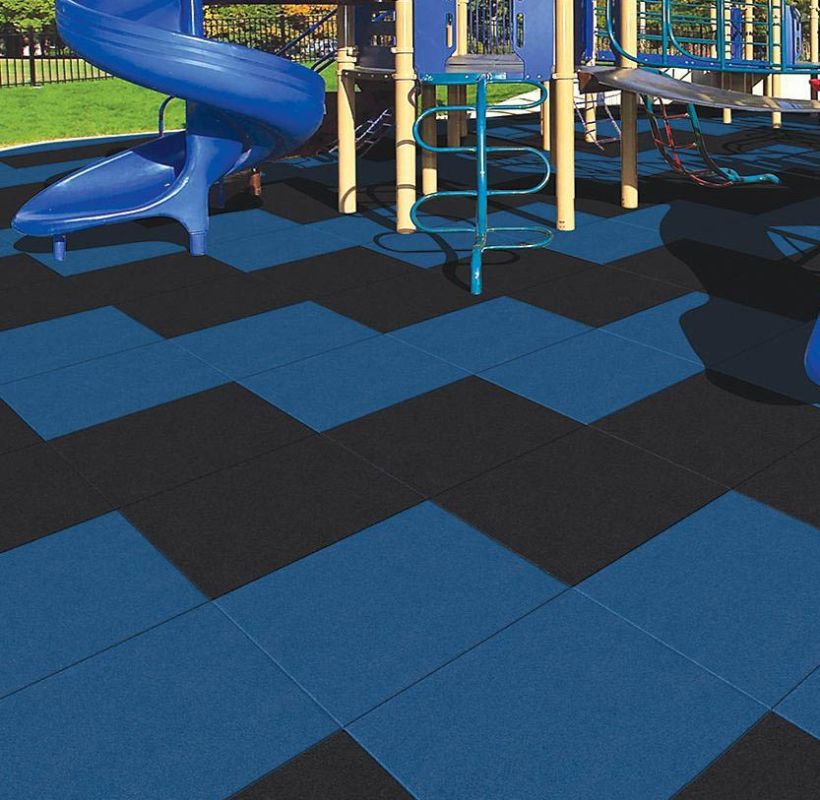
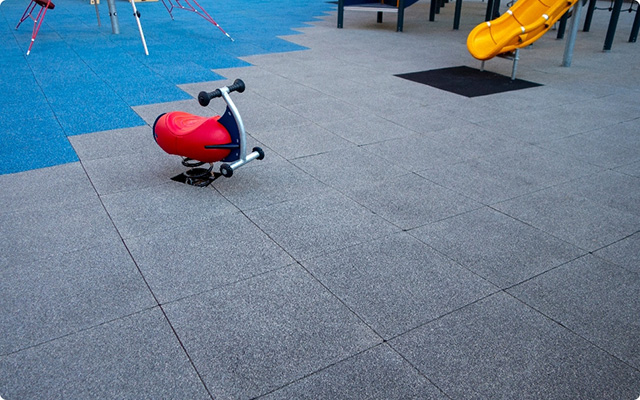
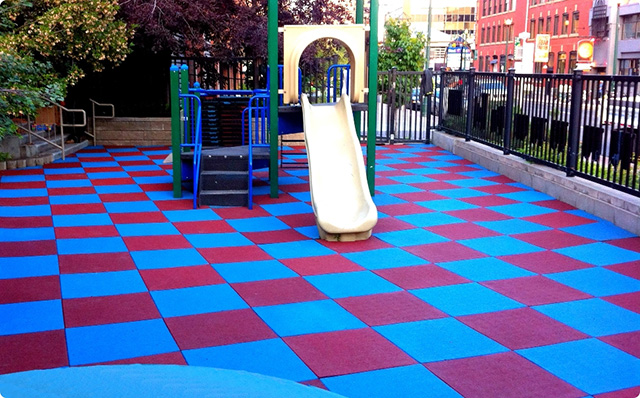
Once the subfloor is level and uniform, we recommend you install all permanent play structures first. Then, install the PlayPad foam in areas requiring fall heights. Next, you can loosely lay your tiles over the surface and leave them to acclimate. Now that your tiles are ready to install ensure all joints are kept tight as each adjoining row is installed. For optimal results, we suggest enclosing the installation area with a solid perimeter retainer such as concrete, wood, or plastic curbing and maintaining a consistent fitting installation with a small gap for expansion around the perimeter.
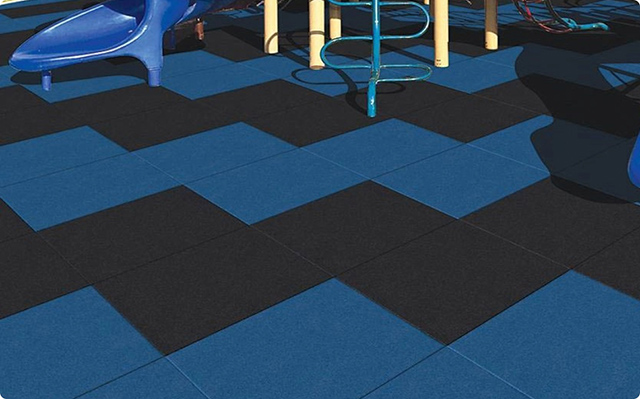
Perfect Surfaces’ PlaySafe SHOCK park-and-play rubber tiles are versatile and DIY-friendly, with the X-Connector interlocking system to ensure a tight and secure fit. SHOCK rubber tiles do not require adhesive and can be loose-laid upon a levelled subfloor- such as concrete or asphalt, or over a well-compacted granular rock base. SHOCK playground tiles are water permeable, allowing liquids to drain to the sub-base; however, adequate base drainage is necessary to ensure that ground and rainwater do not accumulate beneath.


